How To Create A Better Blog Layout For Wix
Wix is a platform for building all manner of sites. It's a service designed to let you create your site without needing advanced technical knowledge or design sensibility. Anyone can create a professional and modern-looking website on the platform. The free version of the service offers more than most private individuals need.
Though most people probably think of Wix as a place to make personal brand sites or set up small online shops, it has a robust blogging tool as well. If you want to make a beautiful Wix blog to rival the best WordPress can offer, you're in the right place.

The Trouble With WordPress
While WordPress is an excellent, mature blogging platform, it's not the most user-friendly experience. WordPress itself is a free and open source software package. However, you need to provide your own hosting solution.
That means renting or buying a server and installing and configuring your own instance of WordPress. You can pay to have WordPress hosted and managed by someone else which is comparable to using Wix.

Already Have a Wix Site?
If you wish to add your Wix blog to an existing site, then select the blog app from the Wix App Market. From there, it's pretty much the same process as editing a blog template as described below. The rest of this guide is based on the assumption that you're creating a Wix Blog site by itself.
Getting Started With Your Wix Blog
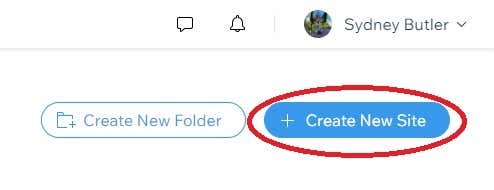
If you haven't yet, go to Wix.com and create an account. Once you're logged in, select Create New Site.
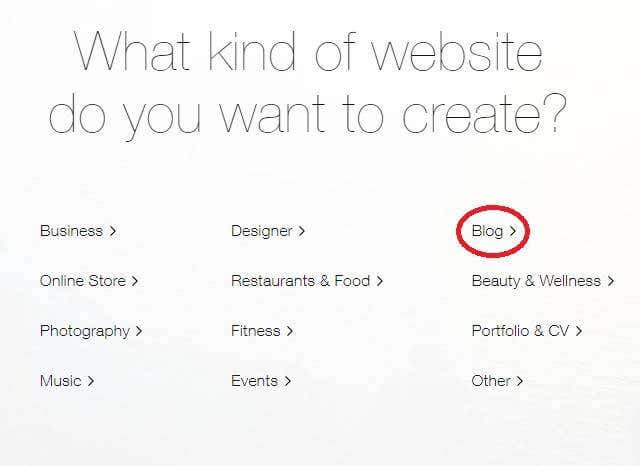
When presented with the option of which type of website you want to create, select Blog.
You now have two options on how you want to create your site.

The first uses a system known as Wix ADI (artificial design intelligence). Here you'll be asked a series of questions and the Wix AI will create a site automatically for you.
The ADI is a guided process, so there's no need for us to walk you through it. We'll focus on the second option. We'll be using the Wix editor to modify a template to reflect exactly what we want.
Choosing a Template for Your Wix Blog
Wix has a sizable selection of blog site templates. It can feel overwhelming to choose the right one for you. By default, you'll be shown templates from every category. It may be easier to pick one by choosing one of these sub-categories first.

Just remember that nothing stops you from choosing any template regardless of its type. These have just been designed for specific types of blogs, but nothing precludes you from using them for a blog outside of its intended category.
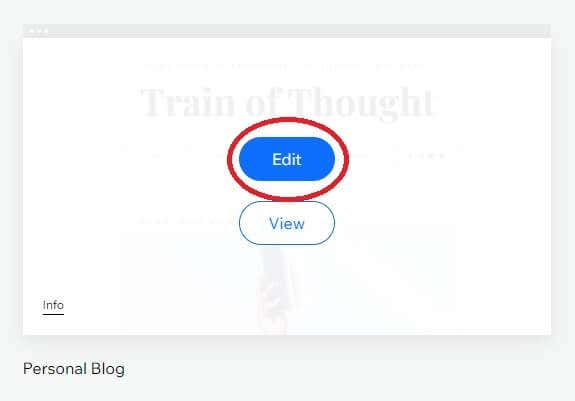
If you see a template that looks interesting, select View and you can see a demo of it. Which should help you make a final decision about which template you want.
Once you've settled on a template, select Edit to get started on your Wix blog's design.
Wix has a much easier template process than WordPress. Using WordPress templates is a multi-step process that can get quite technical if you're administering your own site. Wix is a click-and-forget solution.
Editing Your Blog Template

At first glance the editor can be quite overwhelming, but if you just take a minute to look around you'll soon realize it's pretty intuitive.There's way too much functionality in the editor for us to cover everything here, so we're just going to go over the basics.
The most important control you should know about first is the page switcher menu.
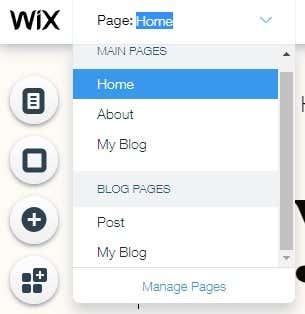
Select this dropdown to change to one of the various page types that make up your blog. This means you can tweak the look of each page that your site is constructed from.
Next to it is another very important control. This is the switch to view the desktop and mobile version of the site. Since a huge percentage of your readers will be using a smartphone, you shouldn't neglect checking that the site still looks and works well on mobile devices.

Since we're working with a pre-existing template here, the best approach is to simply edit the elements that have already been provided for you in the template. We're not going to cover making fundamental elements of the template design in this article. However, when you're more comfortable with editing in Wix you can advance to starting from scratch or radically altering templates to your taste.
Wix includes tips into the placeholder text to let you know what content should go in each place and how to do it according to best practices.
What you see is what you get. You can select just about any element in the template with your mouse pointer and change it. Move it, stretch it or change the text. Most of the things that you'd expect to do intuitively will work as expected. Some elements, such as the name of other pages in menu bars, can't be changed.
In WordPress, theme development requires quite a bit of coding knowledge. While Wix doesn't give you the same level of control, you can radically alter your template using nothing but drag and drop tools, which is a huge advantage.
Key Left Side Toolbars
On the left-hand side of the Wix editor you'll see a vertical stack of buttons. For the purposes of editing your blog before publishing it, some of these are more important than others.
At the top you'll find the Pages button.

This replicates most of the functions of the page switcher at the top of the tool and lets you move between pages in a different way. Page transitions may also be found here.
Below this, you'll find Page Background.
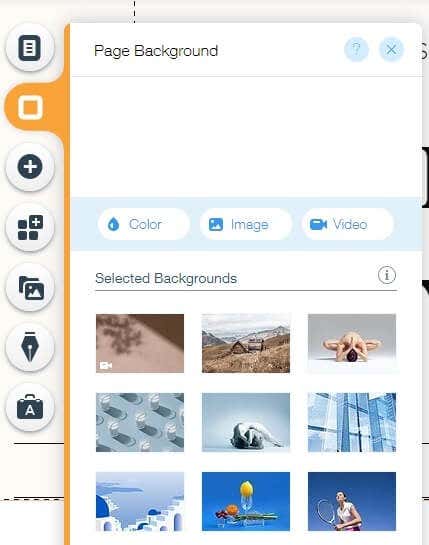
Pick an image or video to serve as the background to your blog from the catalogue. Alternatively, upload your own custom art. Just be careful to preserve the readability of your text!
Next we have a button with a big plus sign on it.
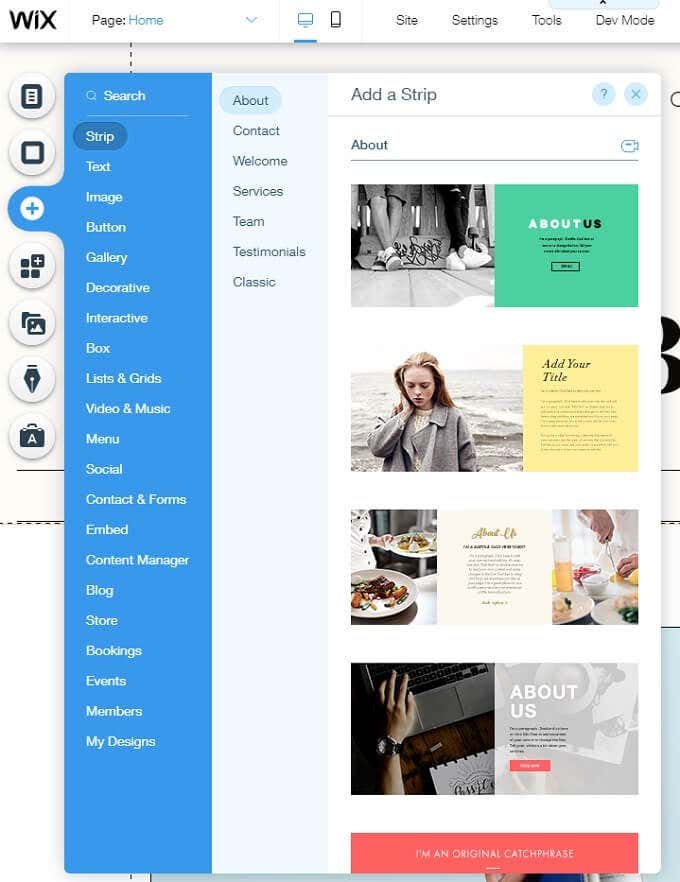
This lets you add just about any element you can think of to your Wix blog, such as buttons or menus.
The Media button lets you add media from your computer or social media.
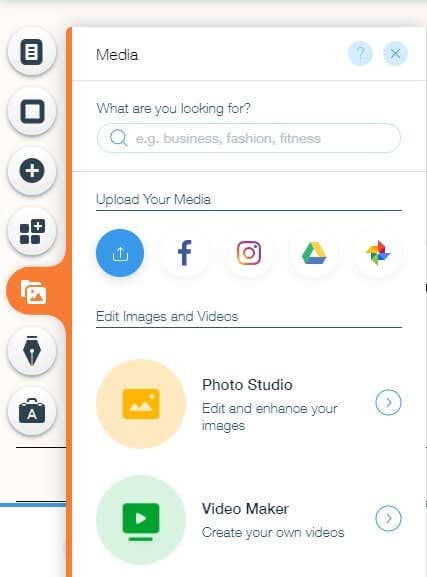
We found the Google Drive and DropBox integration particularly useful here.
The final button we'll mention is perhaps the most important one for this particular context.

The Blog Manager button lets you add new posts and edit existing ones. It also allows quick access to help resources aimed specifically at blogging.
Key Floating Toolbar Highlights

To the right of the editor window, you'll see a floating toolbar. This gives you important information about each element. As you select them you'll see size and position information change. This is also where you can specify rotation angles and other precise values.
Write Posts and Give Your Wix Blog a Name
After you've edited the look of your Wix blog to your satisfaction, you'll need to create actual content for it before you can publish it.
You can use the My Blog button we mentioned above to create your first posts, but there are already a number of posts that have been created as placeholders for the template. Either delete them or edit them into unique posts of your own. Their titles are a good place to get inspiration for article types.
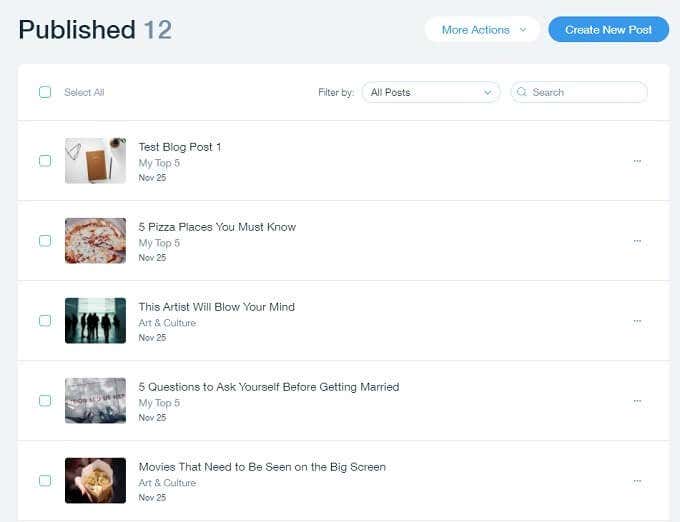
Finally, don't forget to actually name your blog. This is one of the most important things you'll do. So don't take it lightly. That name will be what people see first in searches and sums up the character and nature of your publication.
Hit the Publish Button
Now you should be ready to publish your blog. From here it's all up to your ability to craft content people will love and share. You can buy and link your Wix blog to a custom domain or have Wix handle it for you for a fee. Either way, unlike WordPress, you don't have to worry about also running a server and being a system administrator on top of managing a blog.
Do not share my Personal Information.
How To Create A Better Blog Layout For Wix
Source: https://helpdeskgeek.com/wordpress/how-to-build-a-wix-blog-thats-just-as-good-as-wordpress/
Posted by: juddwrick1979.blogspot.com

0 Response to "How To Create A Better Blog Layout For Wix"
Post a Comment